No-Bake Oreo Truffles
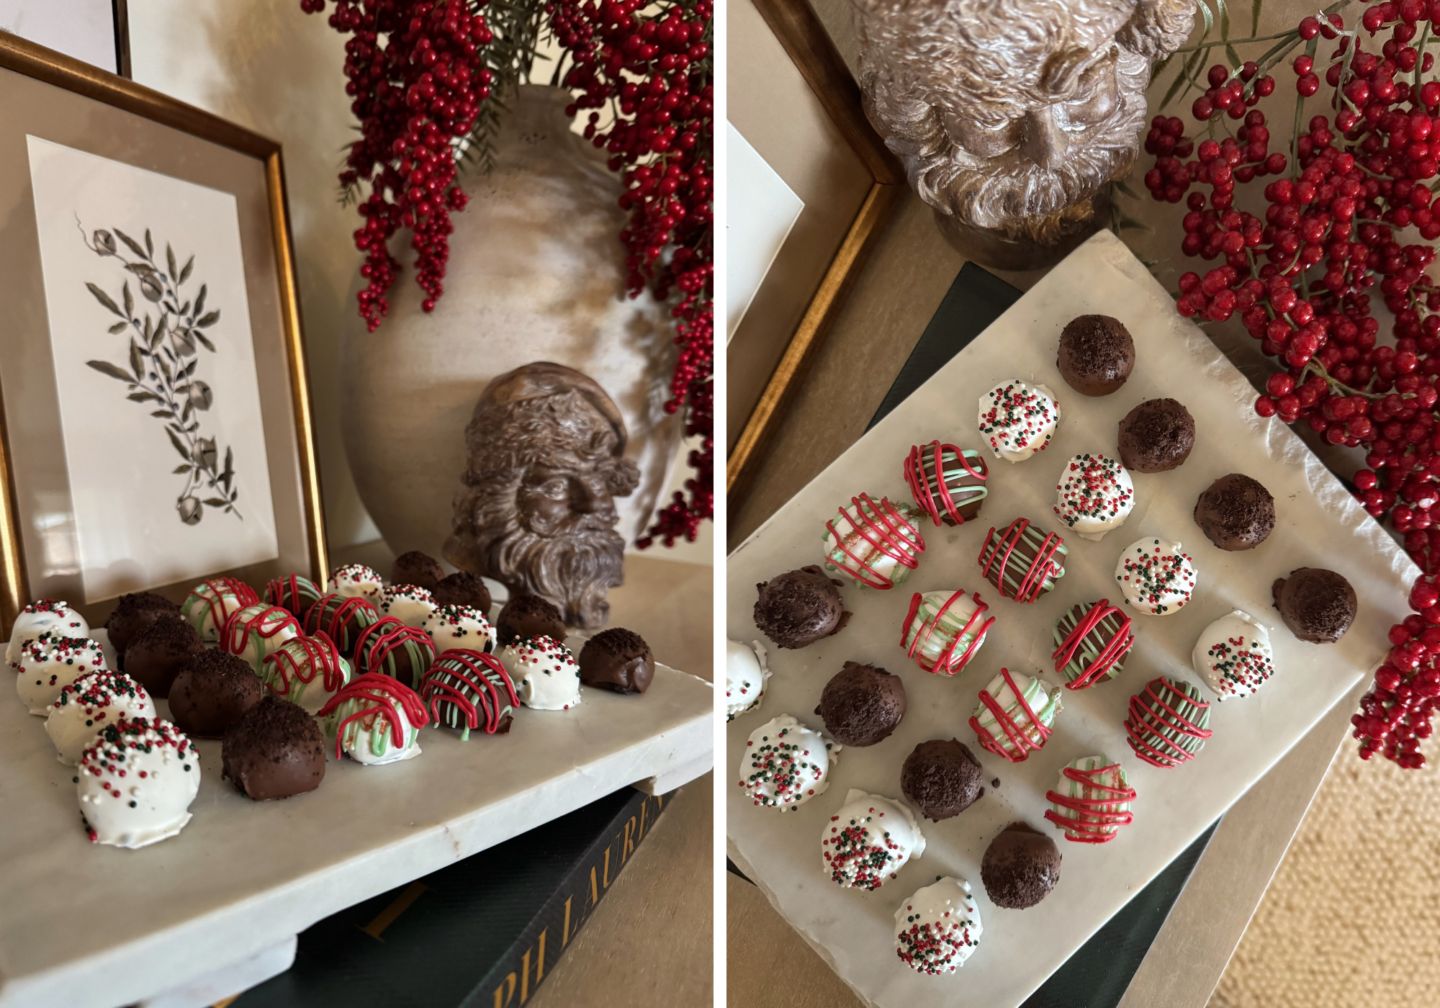
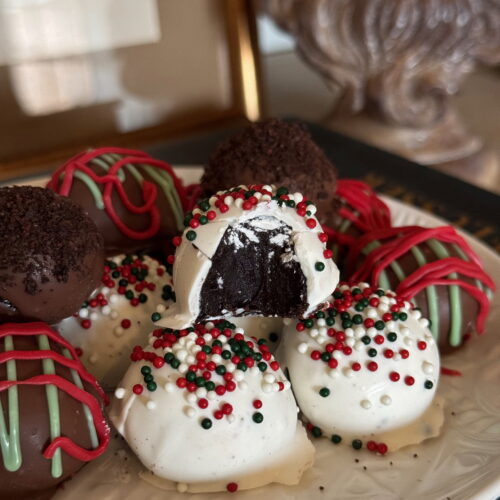
This no-bake oreo truffle recipe was given to me by one of my 4th grade moms years ago and I've been making them yearly ever since. I'll always love a traditional Christmas cookie around the holidays but these are so fun if you're looking for something different! The best part? They're just 3 ingredients.

My notes:
Melting chocolate makes a difference
I highly recommend melting chocolate versus chips, as it's easier to work with overall. We get ours from a local chocolate store, but Ghirardelli, Wilton and Sweet Tooth Fairy are other brands we have used in the past that are readily available on Amazon, at Michael's and other stores.
The double broiler method is your best bet
My grandma was a chocolatier so I've learned alll the tips over the years! While you can melt chocolate in the microwave (if you choose this method make sure you're heating at 20-25 second increments and stirring in between each heat), I don't recommend it as it's very tedious and not as foolproof as a double boiler.
If you don't have an actual double boiler, not to worry! They're super easy to makeshift with what you already have in your kitchen. Look for 2 pans that are close in size but where one is just slightly bigger than the other. You want to mimic a traditional double boiler with water sitting in the bottom pan and your chocolate melting in the top pan. Any water or steam that gets into the chocolate will render it useless so make sure your pots sit tightly together. If you can't quite find the right materials, you can also use a small pot and and a stainless steel or glass bowl (like this).
Chocolate melting made easy
If you're going the microwave route, skip these directions! For the double boiler method, fill your bottom pot with about 1" of water and heat it until the water comes to a simmer. Then, turn your heat to low and add your top pot with a third to half of the chocolate you will be using (melting it in batches rather than dumping it all in at once makes for a smoother process). No need to stir constantly, but stir consistently to help your chocolate melt. As you add in your final batch of chocolate, turn off the heat and allow the residual heat to finish the process.
Overheating chocolate can cause it to burn, resulting in a clumpy, mud-like texture which we don't want! Low and slow is the key.
Coating your truffles
My favorite way to coat the truffles in chocolate is with a fork and a small silicone spatula. I place the truffle so it's sitting directly on top of the fork without piercing it and lower it into the mixture. Then, I use the secondary spatula to drench it in chocolate until fully covered. The fork is great because it allows you to easily tap off the excess chocolate. Gently tap the edge of the fork on the side of your pot until your chocolate is no longer dripping. Then, transfer it to your wax paper and use the spatula to carefully slide it off of your fork. Wedge the spatula as far under the truffle as you can get, as not to put a dent in the coating.
I hope these tips are helpful! If you have any questions about making these no-bake oreo truffles, always feel free to DM me on Instagram @daniellegervino.
No Bake Oreo Truffles
Ingredients
- 8 oz. cream cheese, room temperature
- 1 package regular Oreos
- melting chocolate
- sprinkles to decorate
Instructions
- Combine cream cheese and oreos in a food processor until fully blended. I recommend slicing up the cream cheese to make the mixing process easier. To note: If you buy a family size oreo pack, count out about 36-40 oreos (you will NOT need the whole pack if it's family size).
- Scoop out the dough into a bowl and cover with saran wrap. Refrigerate for 10-15 minutes (the longer the better) so the dough is easier to work with. If it's too soft, the truffles will be harder to mold and maintain a rounded shape.
- Line a baking sheet with wax paper. Once the dough is chilled, roll into small, bite-size balls and place on the wax paper. I usually end up with anywhere from 35-45 total truffles. When you've filled your tray, pop the baking sheet in the freezer for 20-30 minutes to fully harden.
- While freezing, begin slowly melting your chocolate. Once melted, take your truffles out of the freezer 5 at a time (this makes the whole process easier as the ones you're not working with stay hard) and fully cover in chocolate. Remember that the truffles have been freezing so the chocolate will set fast! If you're decorating with sprinkles, decorate immediately after dipping.
- Once all chocolate has set, store in an airtight container and keep refrigerated, then serve when ready.


